


How To Install Shower Drain in Concrete Floor?
Installing a Shower Drain in a concrete floor takes more planning than a standard floor drain replacement. Concrete is solid, heavy, and unforgiving, so the drain position, pipe alignment, floor slope, and final tile height all need to work together from the beginning. If one part is off, the shower may drain slowly, hold standing water, or create long-term waterproofing problems.
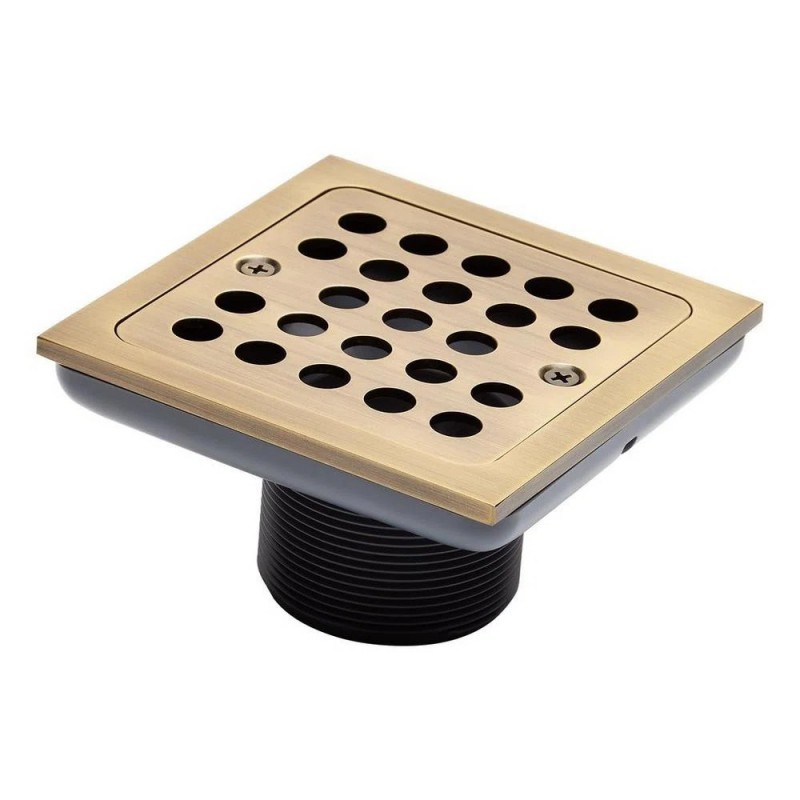
That is why this job is never only about placing a drain body into the floor. A proper installation needs to connect the drain securely to the waste pipe, keep the drain level with the finished surface, and make sure water flows smoothly from every part of the shower area toward the outlet. For modern bathrooms, many installers and project buyers also prefer a stainless steel floor drain because it gives a cleaner finish, better corrosion resistance, and a structure that works well in wet environments.
Understand The Drain Layout Before Cutting Concrete
Before any concrete is opened, the shower floor layout should be clear. The location of the drain controls the slope direction, the tile cut pattern, and the connection to the pipe below. In a concrete floor, moving a drain later is far more difficult than in a timber subfloor, so the position should be confirmed before any breaking or cutting starts.
A stainless steel bathroom floor drain is commonly used in this kind of installation because it combines a durable surface panel with a stable drain body. For projects using a tile insert style, the finished drain can sit neatly within the floor design instead of standing out too much visually. This is especially useful in apartments, hotels, and modern residential bathrooms where a clean floor line matters as much as drainage performance.
Open The Concrete Carefully And Expose The Pipe Area
Once the drain position is confirmed, the concrete around that area needs to be opened so the waste pipe can be accessed. This part should be done carefully because the hole must be large enough for pipe adjustment and drain installation, but not so large that the surrounding floor becomes unnecessarily difficult to rebuild.
After the concrete is removed, the pipe height and pipe center need to be checked again. A shower drain installed in concrete must sit at the correct finished height. If the drain body is too high, tile finishing becomes awkward. If it is too low, water may collect around the drain instead of entering it cleanly. In practice, the drain height should always be planned together with waterproofing layers, mortar thickness, adhesive thickness, and tile thickness.
Match The Drain To The Pipe Connection
A good drain installation depends on a stable connection between the drain outlet and the waste pipe. Many bathroom floor drains are designed to connect to common drain pipe sizes, and this matters in concrete floor work because once the concrete is repaired, access becomes limited. A poorly matched outlet can lead to movement, leakage risk, or difficult maintenance later.
For this reason, installers usually check the outlet diameter and connection method before fixing the drain body in place. A stainless steel floor drain with a robust drain body and a secure outlet structure helps keep the installation more stable over time. In practical bathroom use, that stability matters because the shower area is exposed to frequent water flow, temperature changes, and daily foot traffic.
Set The Drain Height And Level Correctly
This is one of the most important parts of the whole process. The drain should not only be centered and connected, but also level and set to the right elevation. In a tiled shower floor, the top of the drain cover must align properly with the finished surface so water can move toward it naturally.
If the drain is a tile insert design, height control becomes even more important because the visual finish depends on the drain sitting neatly within the tile plane. A common mistake is focusing only on the pipe connection and forgetting the final floor build-up. That often leads to awkward edges, uneven tile cuts, or water sitting around the drain frame instead of draining away cleanly.
Rebuild The Surrounding Base With Proper Slope
After the drain body is fixed, the surrounding base needs to be rebuilt. This stage creates the fall that guides shower water into the drain. In a concrete shower floor, the slope should feel natural and consistent, without flat pockets where water can remain after use.
The floor should lead water directly toward the drain rather than forcing water to travel across uneven surfaces. A well-designed drain panel helps here too. A stainless steel floor drain with an efficient opening pattern allows water to enter across the panel area instead of relying on one narrow point. That makes drainage more stable and helps reduce the chance of water lingering on the shower floor.
Waterproof Before Final Tiling
No concrete shower drain installation is complete without proper waterproofing. Concrete itself is not the waterproof layer. The waterproof membrane or coating around the drain area must be integrated carefully so water is directed into the drain system rather than into the slab or surrounding structure.
This part needs patience. The membrane must seal properly around the drain body, and the transition from floor surface to drain edge should be clean and continuous. If the waterproofing is rushed, the shower may look fine at first but develop hidden moisture problems later.
Finish The Tile Surface And Test Drainage
Once waterproofing is complete, the final tile finish can be installed. At this stage, the drain should already be stable, level, and positioned for the finished tile thickness. The tile lines should flow cleanly toward the drain, and the edges around the cover should look controlled rather than forced.
After tiling, the shower floor should be tested with water before the area goes into regular use. This check confirms whether the slope is correct, whether water enters the drain smoothly, and whether any low spots remain. A properly installed stainless steel shower drain should support fast drainage, a clean floor appearance, and reliable use in daily wet environments.
Why Material Choice Matters In Concrete Floor Projects
In concrete floor showers, replacement is more labor-intensive than in many other floor types. That is one reason material quality matters from the start. A 304 stainless steel floor drain is widely used because it offers good corrosion resistance, a stable structure, and a finish that suits modern bathroom spaces. It also works well in residential bathrooms, apartments, hotels, and other projects where durability and appearance both matter.
For buyers, contractors, and developers, details such as tile insert function, compatible outlet sizes, finish options, and reliable structural design all influence the final result. A drain is a small part of the shower visually, but it has a major effect on long-term performance.
Conclusion
Installing a shower drain in a concrete floor is really a process of getting several details right at the same time. The drain position, pipe connection, floor slope, waterproofing, and finished tile height all need to work together. When these steps are handled carefully, the shower drains better, looks cleaner, and performs more reliably over time.
If you are choosing a stainless steel shower drain for a residential project, hotel bathroom, or bulk purchase program, feel free to contact us. We can help you review drain style, sizing, finish options, and practical installation considerations so you can select a solution that fits your project more smoothly.