How To Install A Long Shower Drain
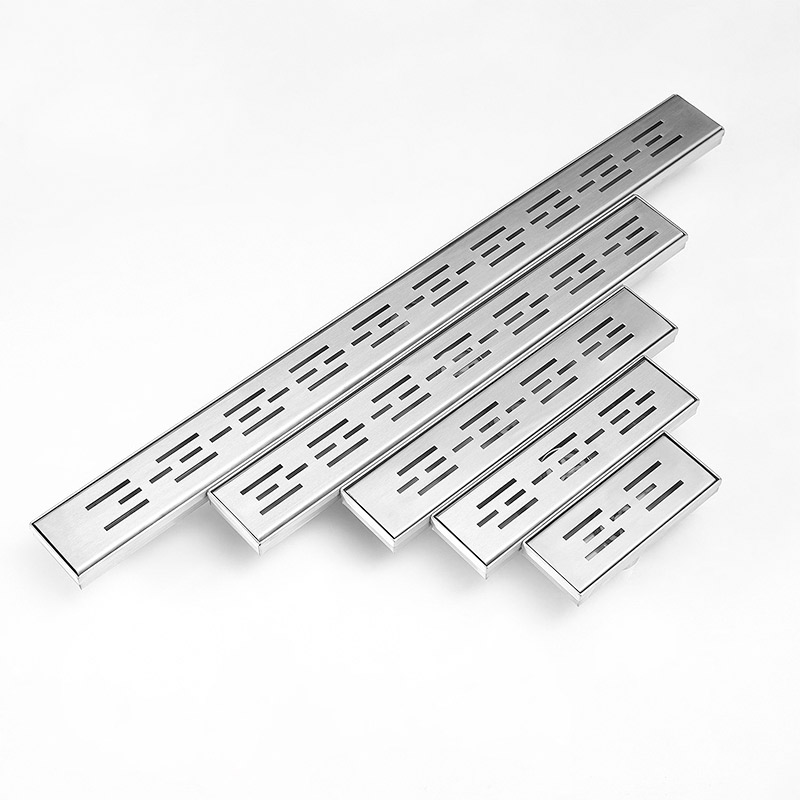
A long Shower Drain, often referred to as a Linear Drain, is a modern and efficient drainage solution that enhances both the functionality and aesthetics of contemporary bathrooms. Unlike traditional center drains, linear drains feature a sleek elongated design that allows for better water flow and easier floor tiling with a single slope. This design makes them a popular choice in luxury homes, hotels, and high-end renovation projects.
At ODO, we specialize in manufacturing premium stainless steel shower drains engineered for durability, hygiene, and elegant appearance. Our long shower drains combine precise craftsmanship with practical design, ensuring easy installation and reliable performance in wet areas. In this article, we’ll guide you step-by-step on how to install a long shower drain properly, including preparation, positioning, waterproofing, installation, and final testing—ensuring professional results for every project.
1. Preparing for Installation
Proper preparation is the foundation of a successful shower drain installation. Before starting, ensure that you have all necessary tools and materials on hand. Preparation prevents common issues such as uneven tiling or poor drainage.
Tools and Materials Checklist
| Tools | Materials |
|---|---|
| Tape measure | Long shower drain |
| Level | PVC or stainless-steel outlet pipe |
| Marker pen | Mortar or thin-set |
| Trowel | Waterproof membrane |
| Screwdriver | Silicone sealant |
| Rubber mallet | Tile spacers and tiles |
Before installation, check the ODO long shower drain packaging for all included components, such as the drain body, removable grate, filter basket, and adjustable legs. Inspect the drain for damage or missing parts, and confirm that it fits the planned shower area dimensions.
Next, determine the ideal position of the drain. Linear drains are usually placed along the wall or at the shower entrance. Wall placement creates a seamless slope toward the drain, reducing the number of floor cuts required. Entrance placement helps prevent water overflow into dry zones.
Ensure that the floor structure allows for a 1–2% slope toward the drain to enable efficient water flow. Use a level to verify this gradient before proceeding with the next step.
2. Positioning and Connecting the Drain
Once the layout is determined, it’s time to position the drain and make necessary pipe connections. This step is crucial for ensuring that water flows directly into the drainage system without leakage.
Begin by marking the installation area on the floor. The channel of the ODO long shower drain should be aligned parallel to the shower wall or threshold. If adjustable legs are included, pre-install them to elevate the drain body to the correct height—allowing for the thickness of mortar and tiles that will be added later.
Next, prepare the outlet connection. Most ODO shower drains feature a horizontal or vertical outlet designed for easy connection with standard plumbing systems. Apply PVC primer and adhesive for plastic pipes or appropriate sealant for stainless-steel connectors. Carefully insert the outlet pipe into the drain body connection and hold it firmly until secure.
Check for alignment accuracy using a level. The top edge of the drain should be perfectly horizontal and slightly lower than the finished tile surface. Misalignment at this stage can lead to standing water or poor drainage.
After connecting, perform a leak test by pouring a small amount of water into the system before embedding it in the floor. If no leaks are detected, the drain is ready to be fixed into the mortar base.
3. Embedding and Waterproofing
Embedding and waterproofing are critical steps that ensure your shower remains watertight and durable. A properly waterproofed installation prevents costly damage caused by water infiltration beneath tiles.
Begin by spreading a thin mortar layer across the prepared shower base using a trowel. Set the ODO long shower drain body into position and press gently to embed it evenly into the mortar. Use a rubber mallet if necessary to adjust height and maintain level accuracy.
Once the drain is secured, apply a waterproof membrane over the entire shower base, overlapping slightly with the drain flange. The membrane should extend up the walls at least 5–10 cm to form a watertight barrier. Use a roller or brush to smooth out air bubbles and ensure full adhesion.
For ODO linear drains, which feature a wide bonding flange and anti-leak channel design, the membrane can be directly bonded onto the flange using waterproof adhesive. Seal all junctions between the drain and floor membrane with neutral-cure silicone sealant, ensuring a continuous watertight joint.
Let the waterproofing layer cure as per the manufacturer’s recommended drying time—usually between 12 and 24 hours. During this time, avoid stepping on or disturbing the installation area.
Waterproofing Tips
Use ODO-approved waterproof membranes or equivalent quality materials.
Ensure that all overlaps are at least 50 mm to prevent seepage.
Avoid piercing or cutting the membrane once installed.
Always check that the drain flange is clean before sealing.
4. Tiling and Finishing the Floor
After waterproofing is complete and fully cured, it’s time to tile the shower floor. Proper tiling around a long shower drain ensures both a professional look and efficient water flow.
Start by applying a layer of thin-set mortar over the waterproofed surface. Place the tiles in position, working outward from the drain to maintain an even slope toward it. The slope should be uniform, about 1–2 cm per meter, allowing water to flow directly to the ODO drain without pooling.
When cutting tiles near the drain, measure precisely to ensure tight alignment with the drain grate. For a seamless look, use matching grout colors or stainless-steel trim pieces. ODO linear drains are designed with removable grates that fit flush with the surrounding tiles, blending perfectly into the floor design.
Key Finishing Steps
Check the height of the drain grate and adjust it to match tile thickness before grouting.
Use water-resistant grout between tiles to prevent water infiltration.
Wipe away excess grout immediately to keep the grate edges clean.
Allow grout to cure completely before exposing the area to moisture.
Once all tiles are in place and cured, insert the ODO drain grate and ensure it sits evenly on the support frame. The sleek finish of stainless steel adds a modern touch while remaining easy to clean and corrosion-resistant.
5. Final Testing and Maintenance
After installation is complete, performing a final inspection ensures the system functions properly and remains durable over time.
Start by pouring water across the shower floor to test drainage speed and direction. The water should flow smoothly toward the linear drain without pooling. Check the connection points and surrounding grout lines for any signs of leakage.
ODO’s long shower drains feature removable grates and internal baskets, which allow easy cleaning. Lift the grate using the provided tool, remove the hair strainer, and rinse it under running water. This simple maintenance routine prevents clogging and ensures long-term performance.
Maintenance Recommendations
Clean the drain basket weekly to maintain efficient water flow.
Avoid harsh chemical cleaners that may damage stainless steel surfaces.
Wipe the drain and grate dry after each cleaning to maintain shine.
Inspect the silicone seals every few months and reapply if necessary.
With proper care, your ODO linear shower drain will provide years of reliable performance. The premium 304 or 316 stainless-steel construction resists rust, corrosion, and discoloration, maintaining a fresh look even in high-humidity environments.
Conclusion
Installing a long shower drain may seem technical, but with careful preparation and quality components, it becomes a straightforward and rewarding project. A properly installed ODO shower drain not only enhances the drainage efficiency of your bathroom but also elevates its overall appearance with a minimalist, modern aesthetic.
From preparation to finishing touches, following these steps ensures a watertight, durable, and visually seamless installation. Whether for residential renovation or hotel construction, ODO’s precision-engineered shower drains offer both form and function, making them the preferred choice for modern bathrooms worldwide.
Choose ODO for your next bathroom upgrade—where durability, hygiene, and elegance meet to create a truly exceptional showering experience.


